Care & storage
Cleaning everyday leather shoes gently
Identify the surface before reaching for a brush, cloth or cream.
Not every leather finish wants the same treatment
The word leather on a product page is not a complete cleaning instruction. Smooth finished leather, patent leather, suede and nubuck have different surfaces. Shoes may also combine leather with textile panels, painted edges and glued components. Find the maker’s care advice for the actual model, especially before using a product left over from another pair.
Remove the laces if they obstruct access and if the design allows it. Look for loose stitching or an opening at the sole before introducing moisture. Cleaning is not a repair for a separating sole, and rubbing a damaged edge can make an existing problem harder to address.
Begin with the least intervention
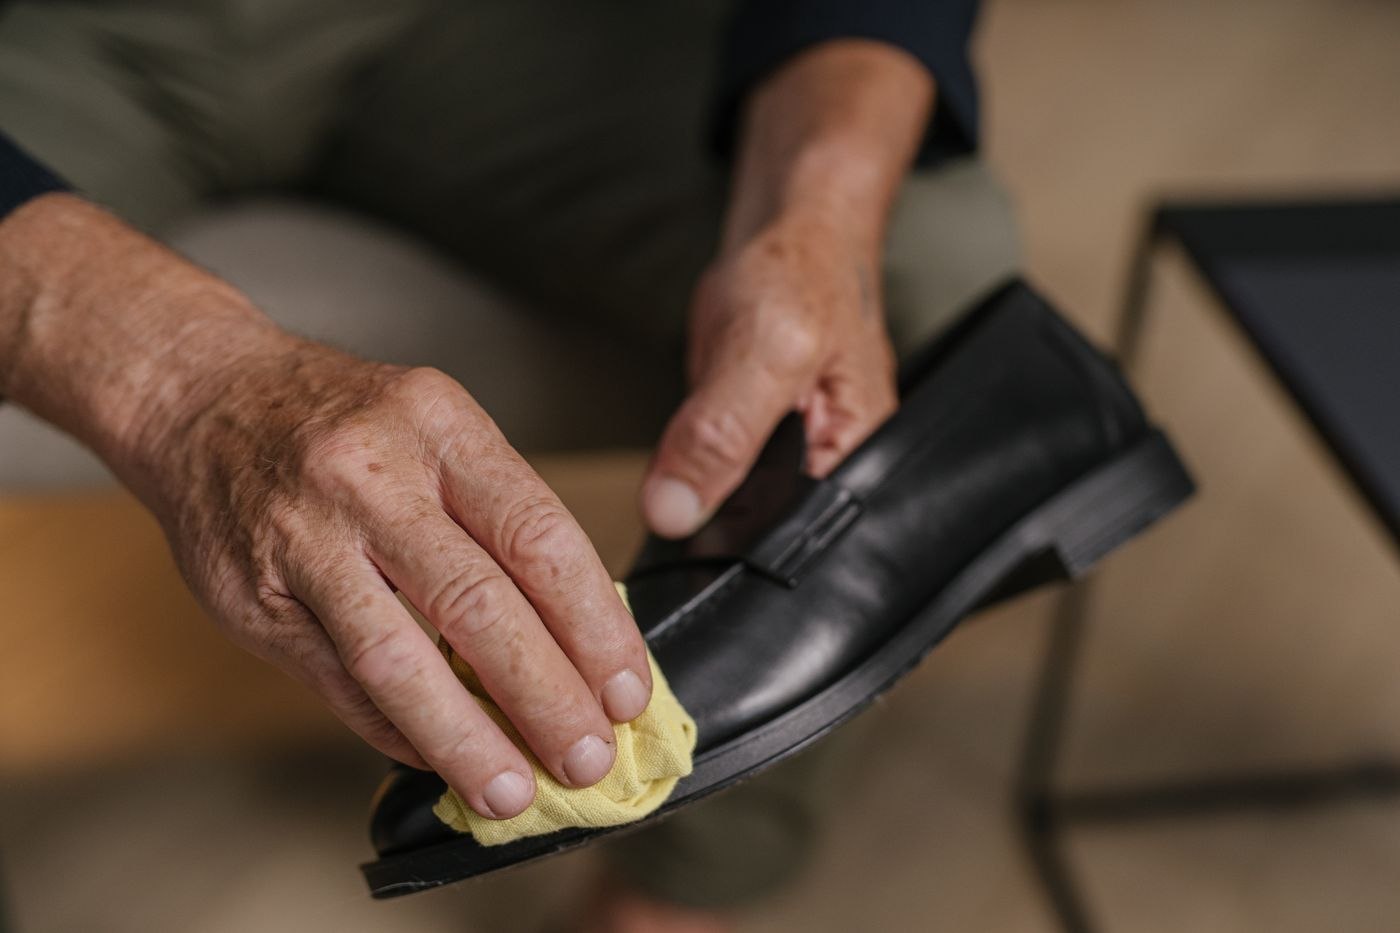
Brush away loose dry dirt with a suitable soft brush. Pay attention to the join around the sole without forcing dirt into it. For a finish that permits wiping, use a clean cloth and the method recommended by the manufacturer. The aim is controlled cleaning, not saturation; a dripping cloth brings moisture into places that are slow to dry.
If a cleaner or conditioner is appropriate, read its compatibility instructions and test an inconspicuous area first. Let that test settle before judging the colour. A cream that looks invisible while wet can leave a different finish after drying. Do not use household stain-removal recipes simply because the ingredient is familiar.
Make a small treatment sequence visible
Work on one shoe at a time with the same light and tools. First remove loose dirt, then assess whether a permitted wiping treatment is necessary. Let the surface reach the state specified by the product before deciding on another step. Applying cleaner, conditioner and polish in quick succession makes it difficult to know which treatment changed the colour or finish.
For an unfamiliar pair, photograph the shoe before starting, especially if an old stain or scuff is already present. This is not a guarantee of a safe result, but it can help you see whether the surface is improving or merely becoming shinier. Compare the treated test area with the surrounding leather after it has settled.
Separate cosmetic wear from a fault that affects use. A pale scratch on a toe and a loose sole edge need different decisions. The first may be acceptable or suitable for a compatible finish treatment; the second may need repair before further wear. Cleaning until everything looks evenly dark can hide rather than resolve a structural problem, so inspect the shoe again after the surface work is finished.
Keep the sole and upper separate
A product suitable for a rubber sole may not belong on the upper. Use separate cloths or clean sections so gritty dirt and coloured polish do not travel across the shoe. Work slowly around contrasting stitching and pale edges. It is reasonable to leave a stubborn mark for professional advice instead of pursuing a perfectly uniform surface at any cost.
Allow the shoes to dry naturally away from direct heat before returning them to storage or applying a later treatment. Do not use a hair dryer to speed the final minutes. Inspect the result in ordinary daylight rather than adding more cream under a dim lamp. An everyday shoe can remain presentable with small signs of use; repeatedly stripping and recoating it is not automatically better care.